
I was so excited when I was able to capture this photograph!
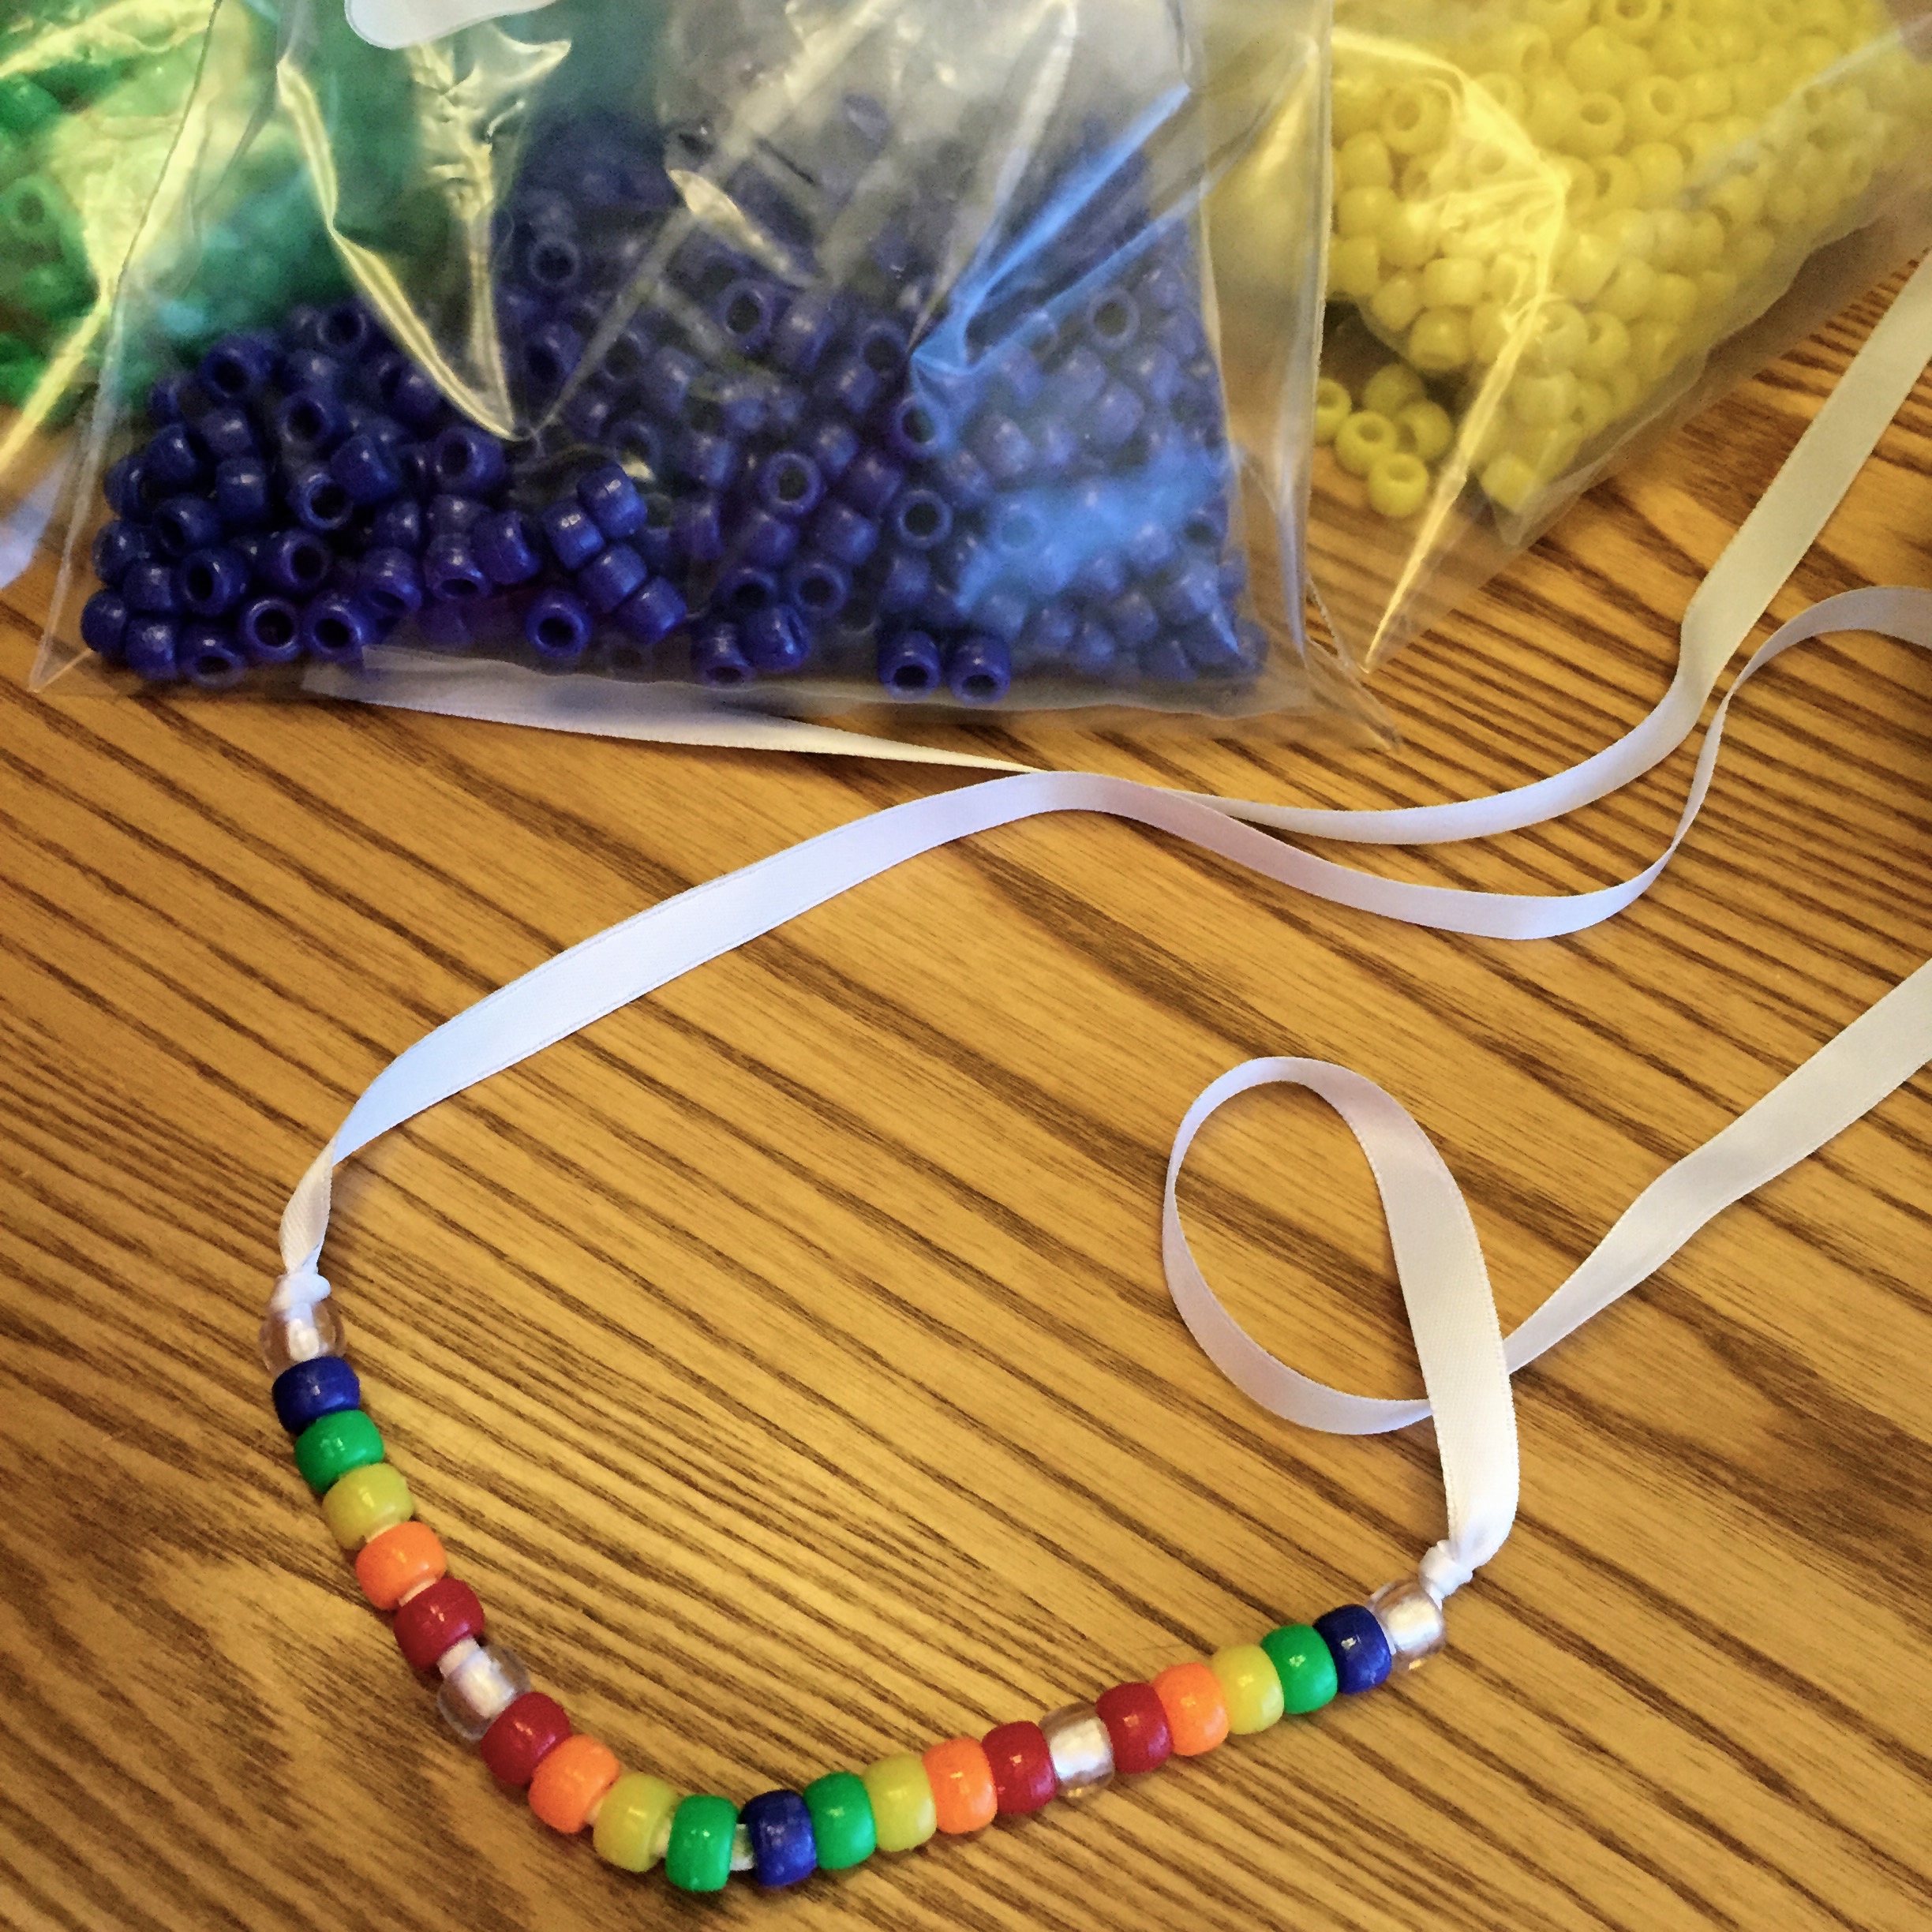
Rainbow Beaded Necklace

The first craft we did at the party was a beaded necklace. Again, something to do and another thing they can take home with them. I purchased white grosgrain ribbon from the craft store and various opague rainbow color and translucent pony beads. This one is pretty easy and self explanatory. I used a little aluminum bowl for each color during the party when there were several children, but if it is just you and your child I don’t think you would need to do that. I had the ribbons pre-cut prior to the start of the party so I could just pass them out. We encouraged the girls to tie a little knot where they wanted their beading to start and then another once they added the beads they wanted. Some made patterns and others just added their favorite colors at their whim. Very easy and age appropriate.
Things we used:
- Ribbon
- Assorted Beads
- Bowl(s) to keep the beads in
- Scissors (to cut the ribbon into the proper lengths)

Kaleidoscope for Little Hands
My last minute find for a craft was not as rainbow themed as it could have been, but it was colorful! This one took some fine tuning from the Pinterest directions I found. In the end I think it was a great activity that is fairly inexpensive and adds another favor the kids can take home from the party. The initial idea came most closely from this post, but this one was really interesting and gave open ended options so you can change what you are viewing.

Things we used:
- Toilet paper rolls worked well for this age group (Pringles cans and paper towel rolls would work just as well for bigger kids)
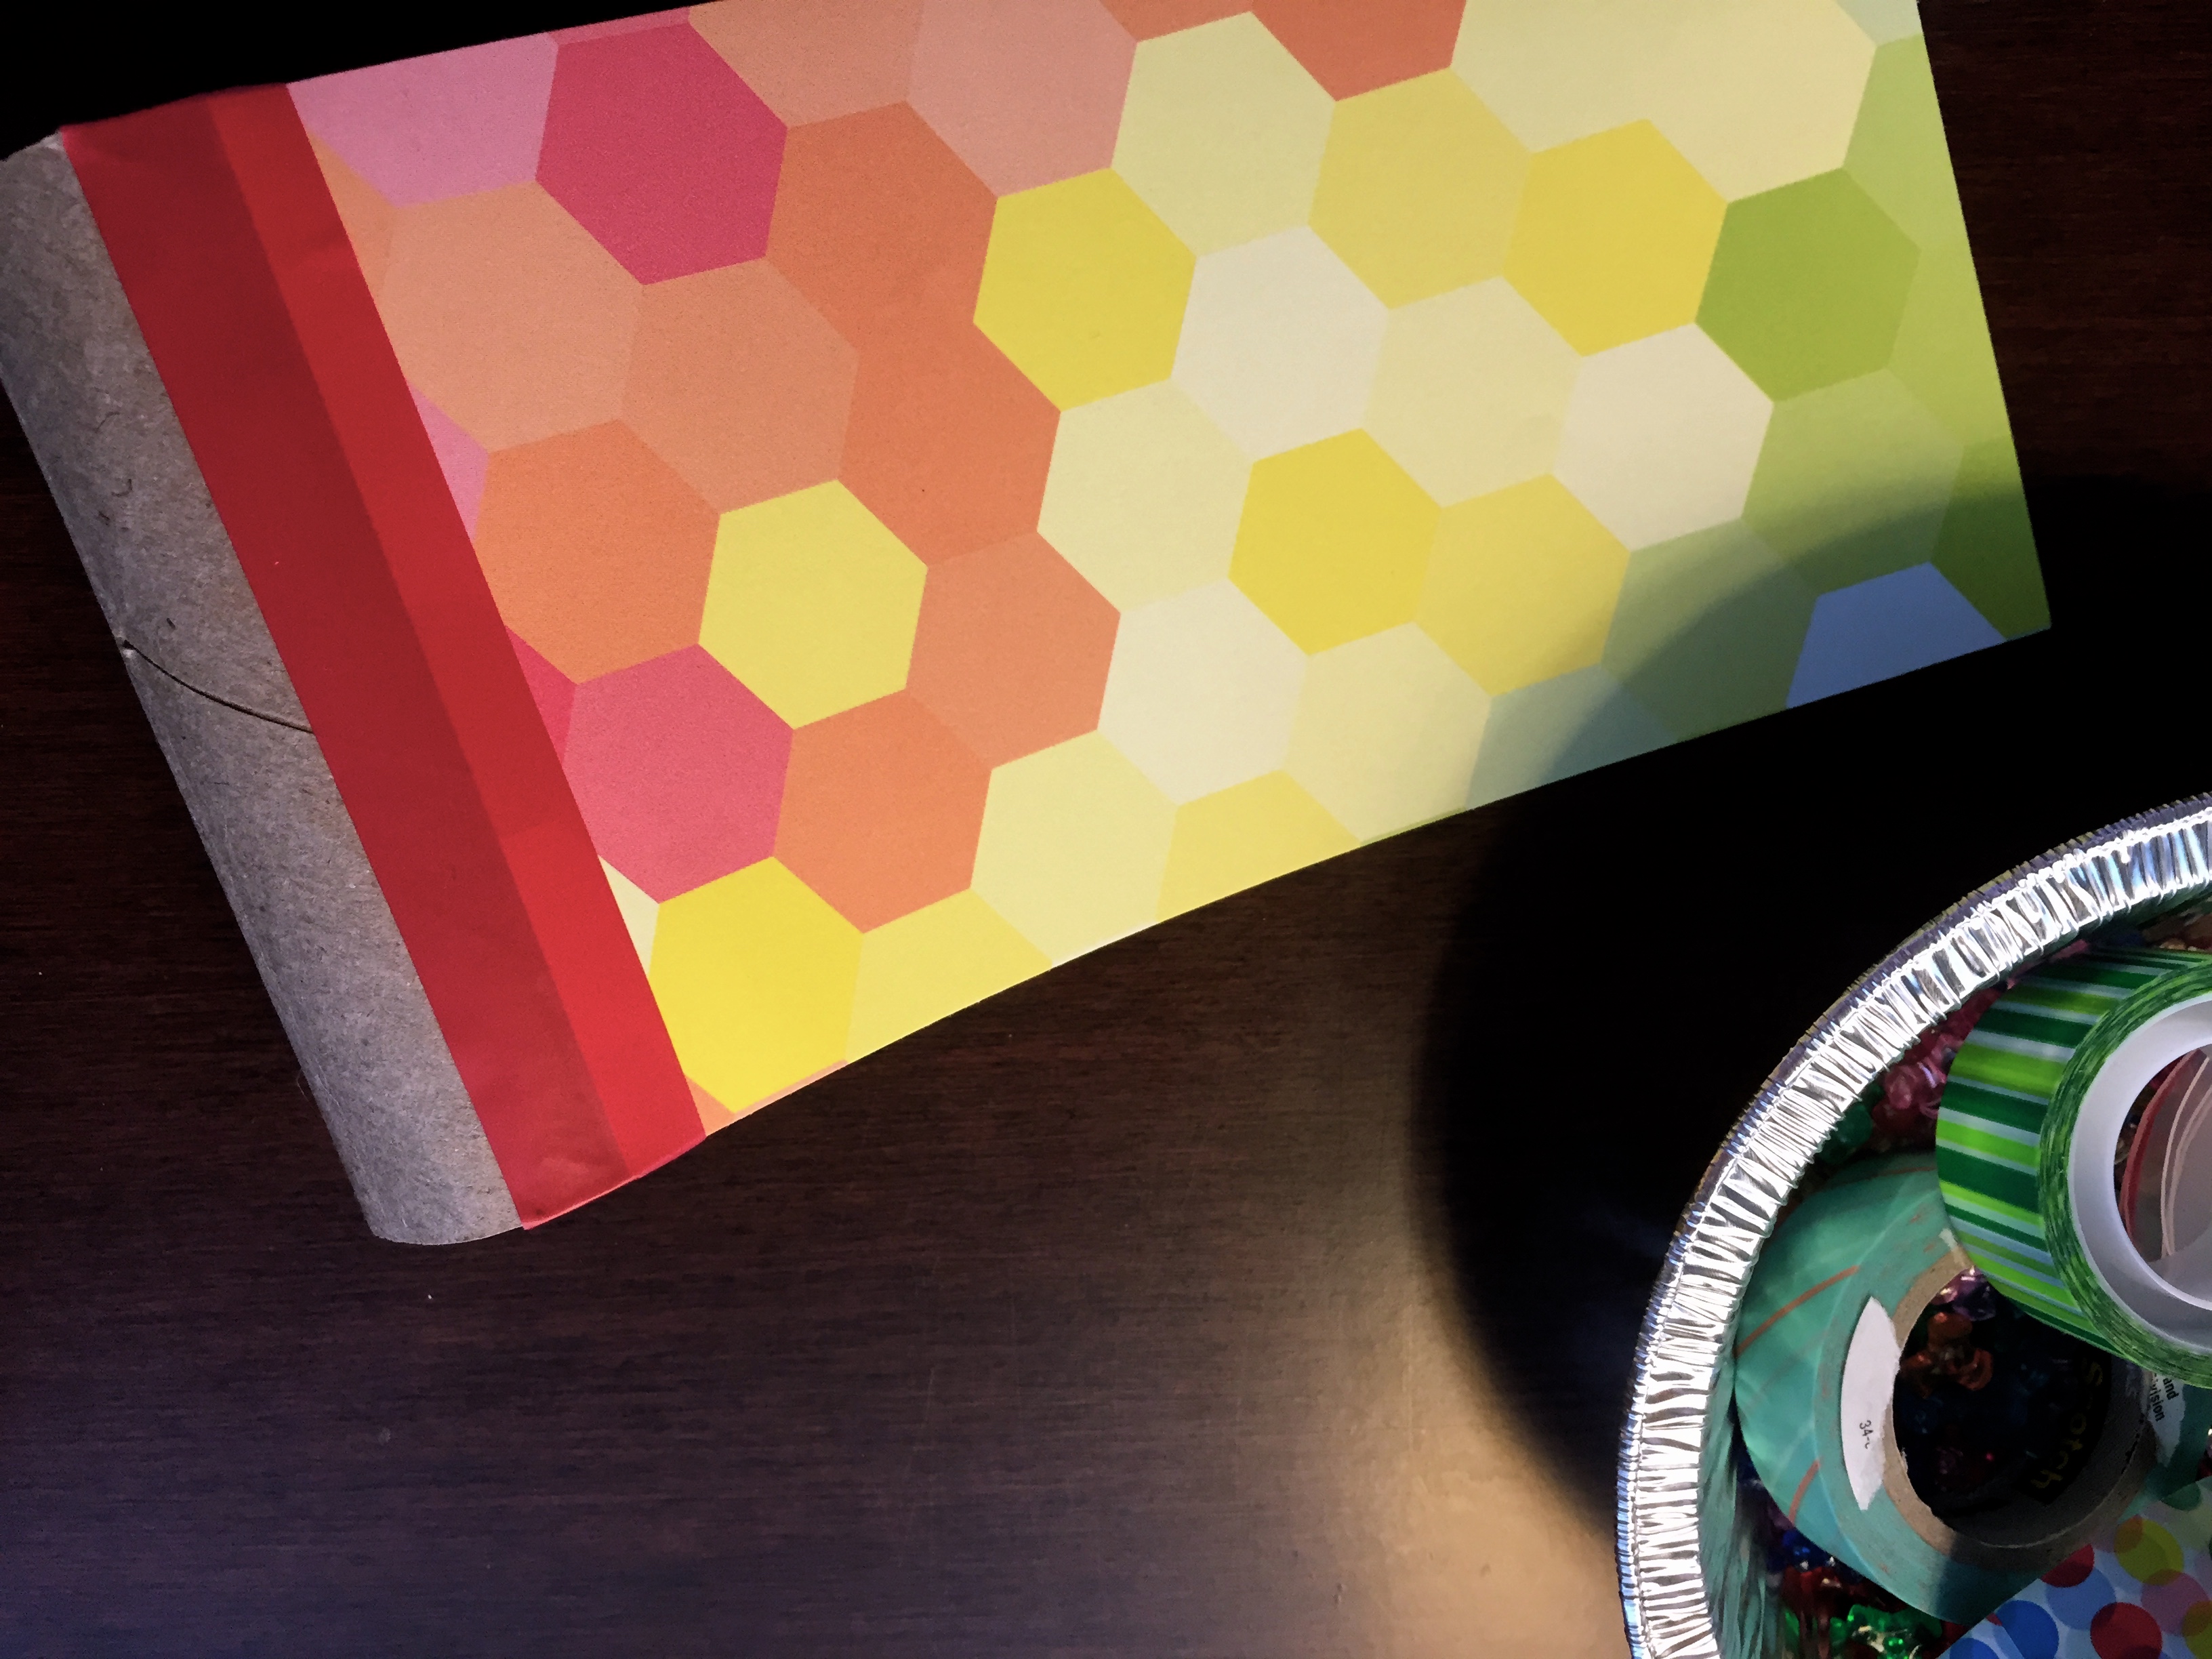
- Scrapbook paper or Construction paper (for the outside parts)
- Wiki Tape
- Metallic heavy weight scrapbook paper (for the inside reflective material)
- Glad containers or another hard plastic (somewhere I saw CD Jewel cases)
- Hole punch
- Marker or Pen
- Plastic translucent tri-beads in assorted colors
To prepare for the party, I did cut out a few things ahead of time. I used a paper cutter to pre-cut the scrapbook papers to exact size to then use as outer wrapping papers and smaller pieces for eyepiece circle, each in a variety of rainbow patterns and colors.
I also traced the rolls onto the Glad plastic containers and then cut out the circles. This is especially a good idea if you are working with little ones. I traced along the outside of the tubes. I found that I then had to trim half of them to fit inside the tubes. 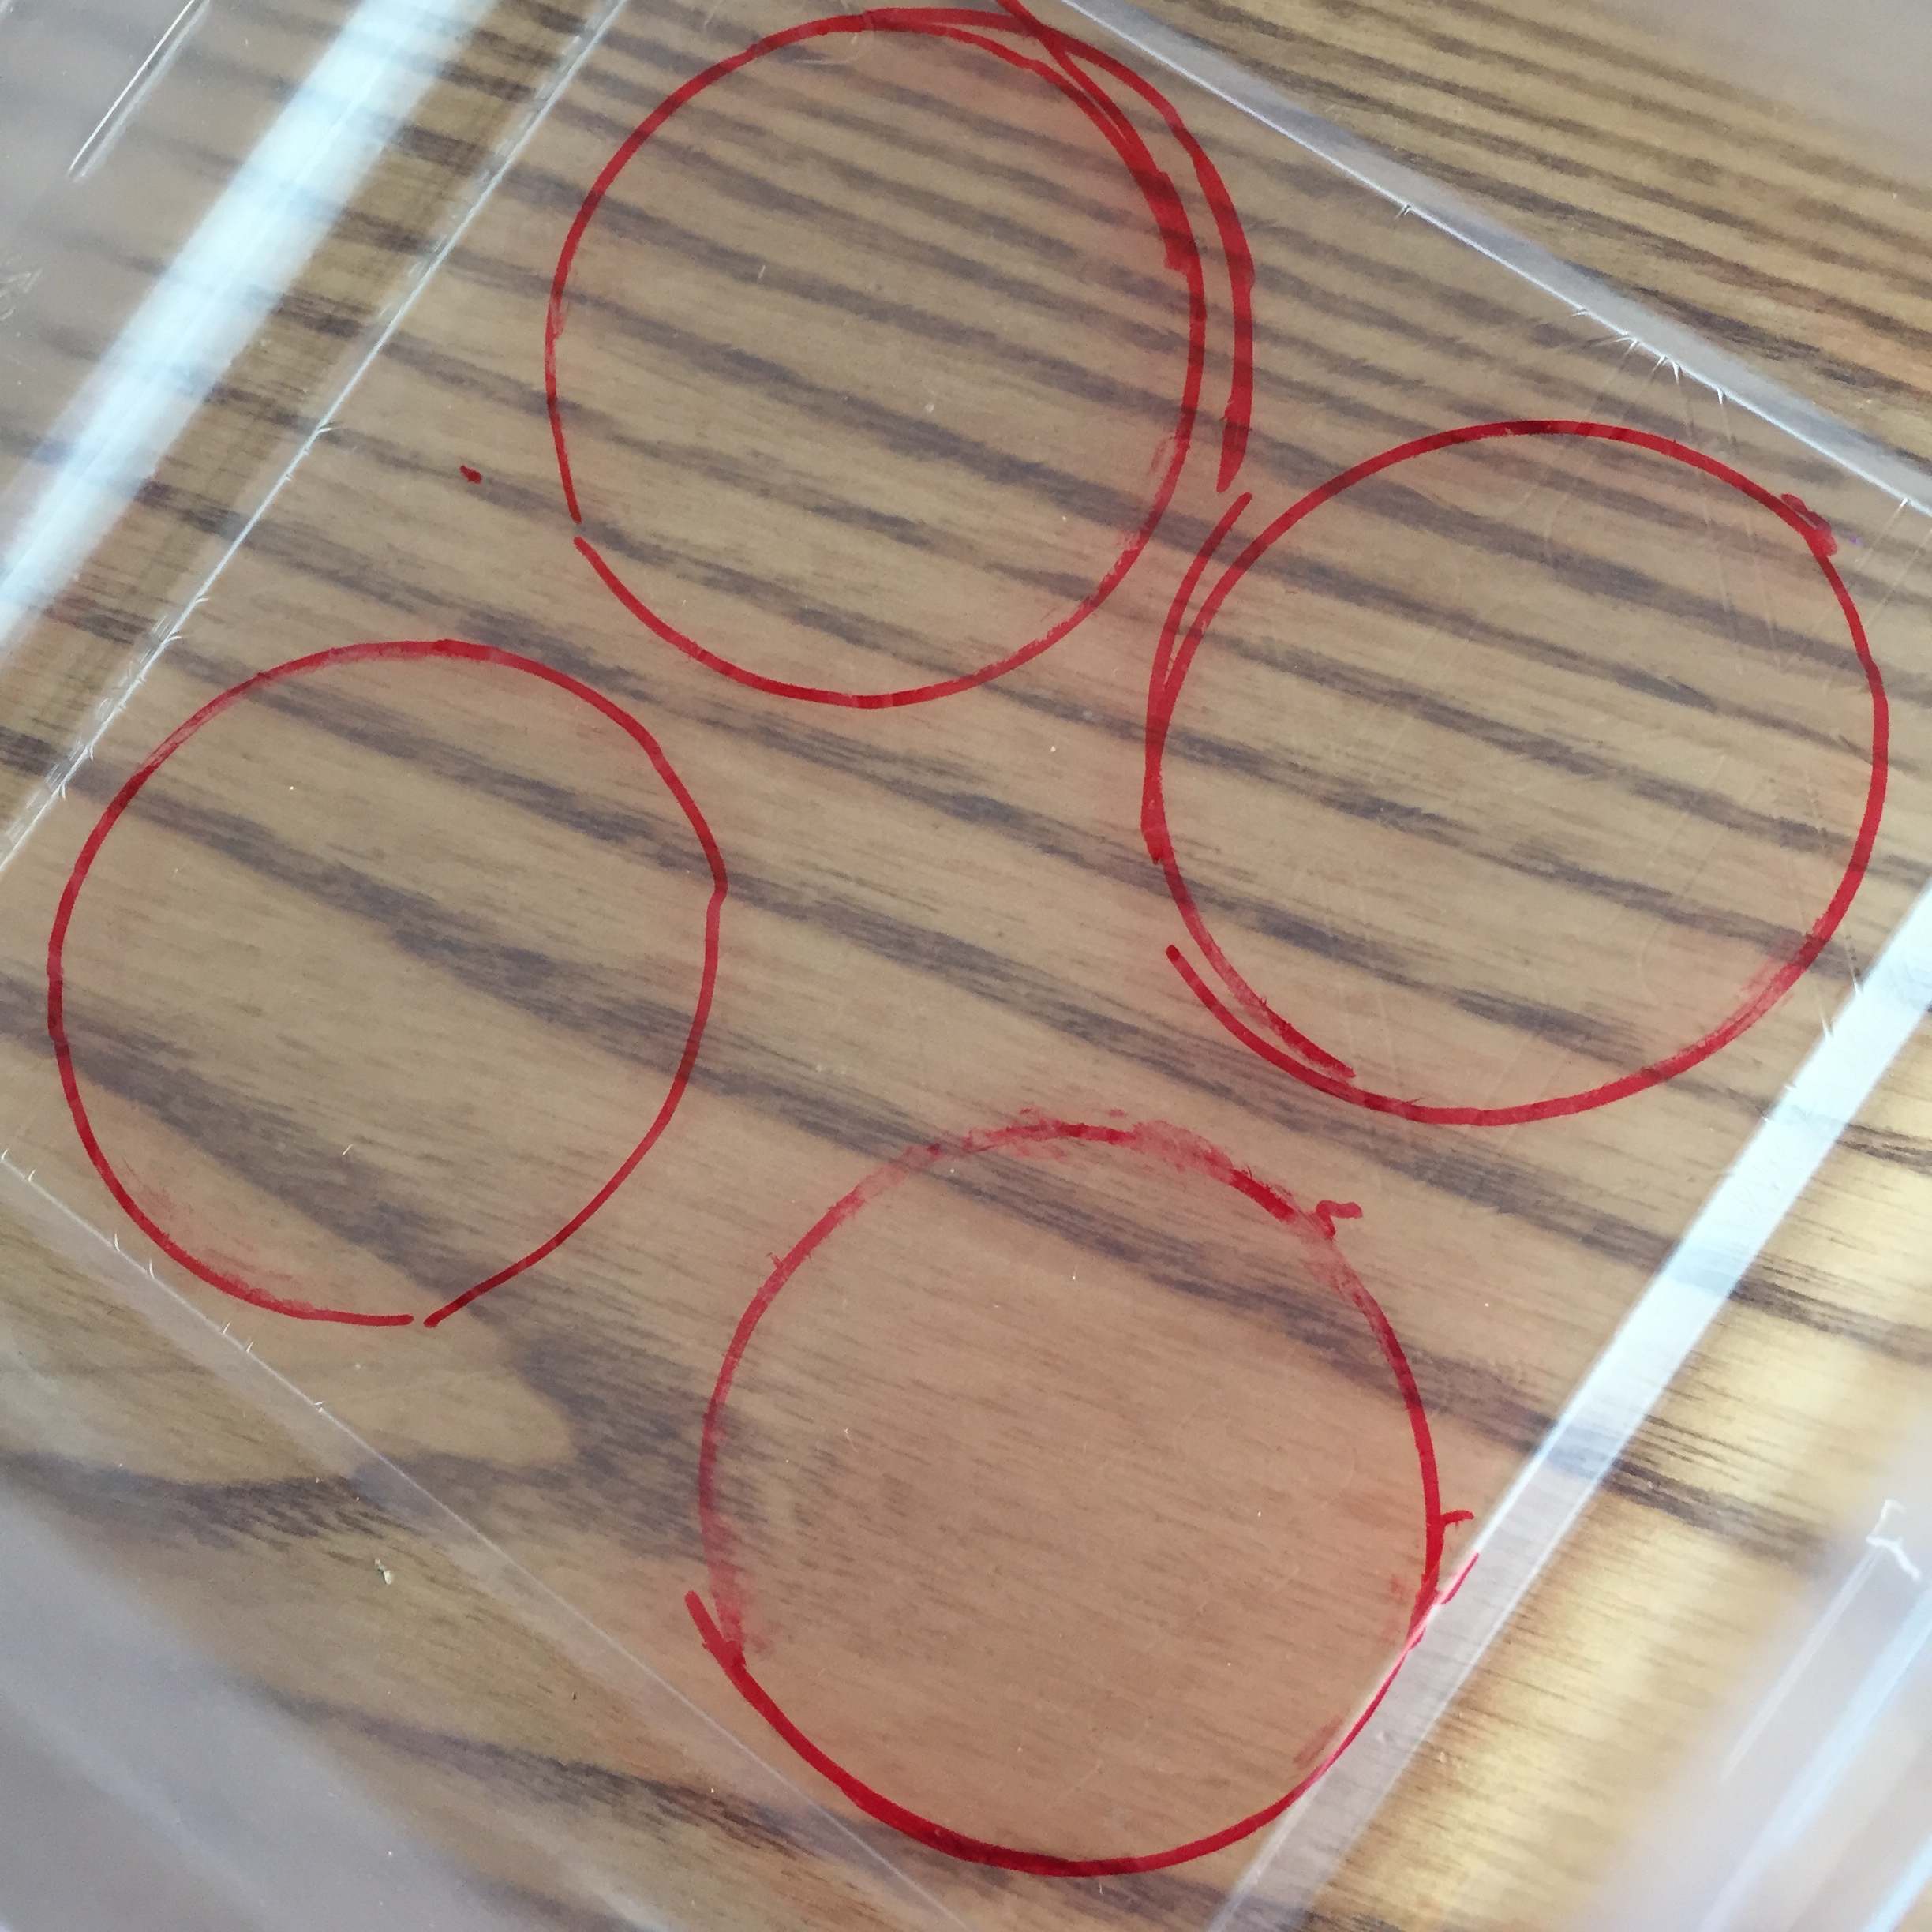
Again, using the paper cutter, I cut the metallic paper to the correct length (just shy of the length of your tube ~ I went with 1/4″) and width (this will vary based on the diameter of your tube). To figure out your width, multiply your diameter by 0.866 and figure you need three of those plus a little bit to overlap and tap. This will be clearer in the photo below. Once I had the correct size prepared, I scored the papers on the non-metallic side where we would need to bend them and left them flat for the kids to bend.

Side note: I did try to use aluminum foil as a few posts mentioned and it definitively did not work for me. Lucky for me I had a helper to run to the store at 8 pm to get the right paper.
To get started, you choose your outer wrapping paper. Using wiki tape, attach it to the roll.
 Wrap the paper all the way around and secure the end with wiki tape again. You can use the same pattern tape over and over or mix it up.

Now you are reading to use that metallic paper. Using the scored lines, bend it into a triangle and tape it with wiki tape along the outside where it overlaps.
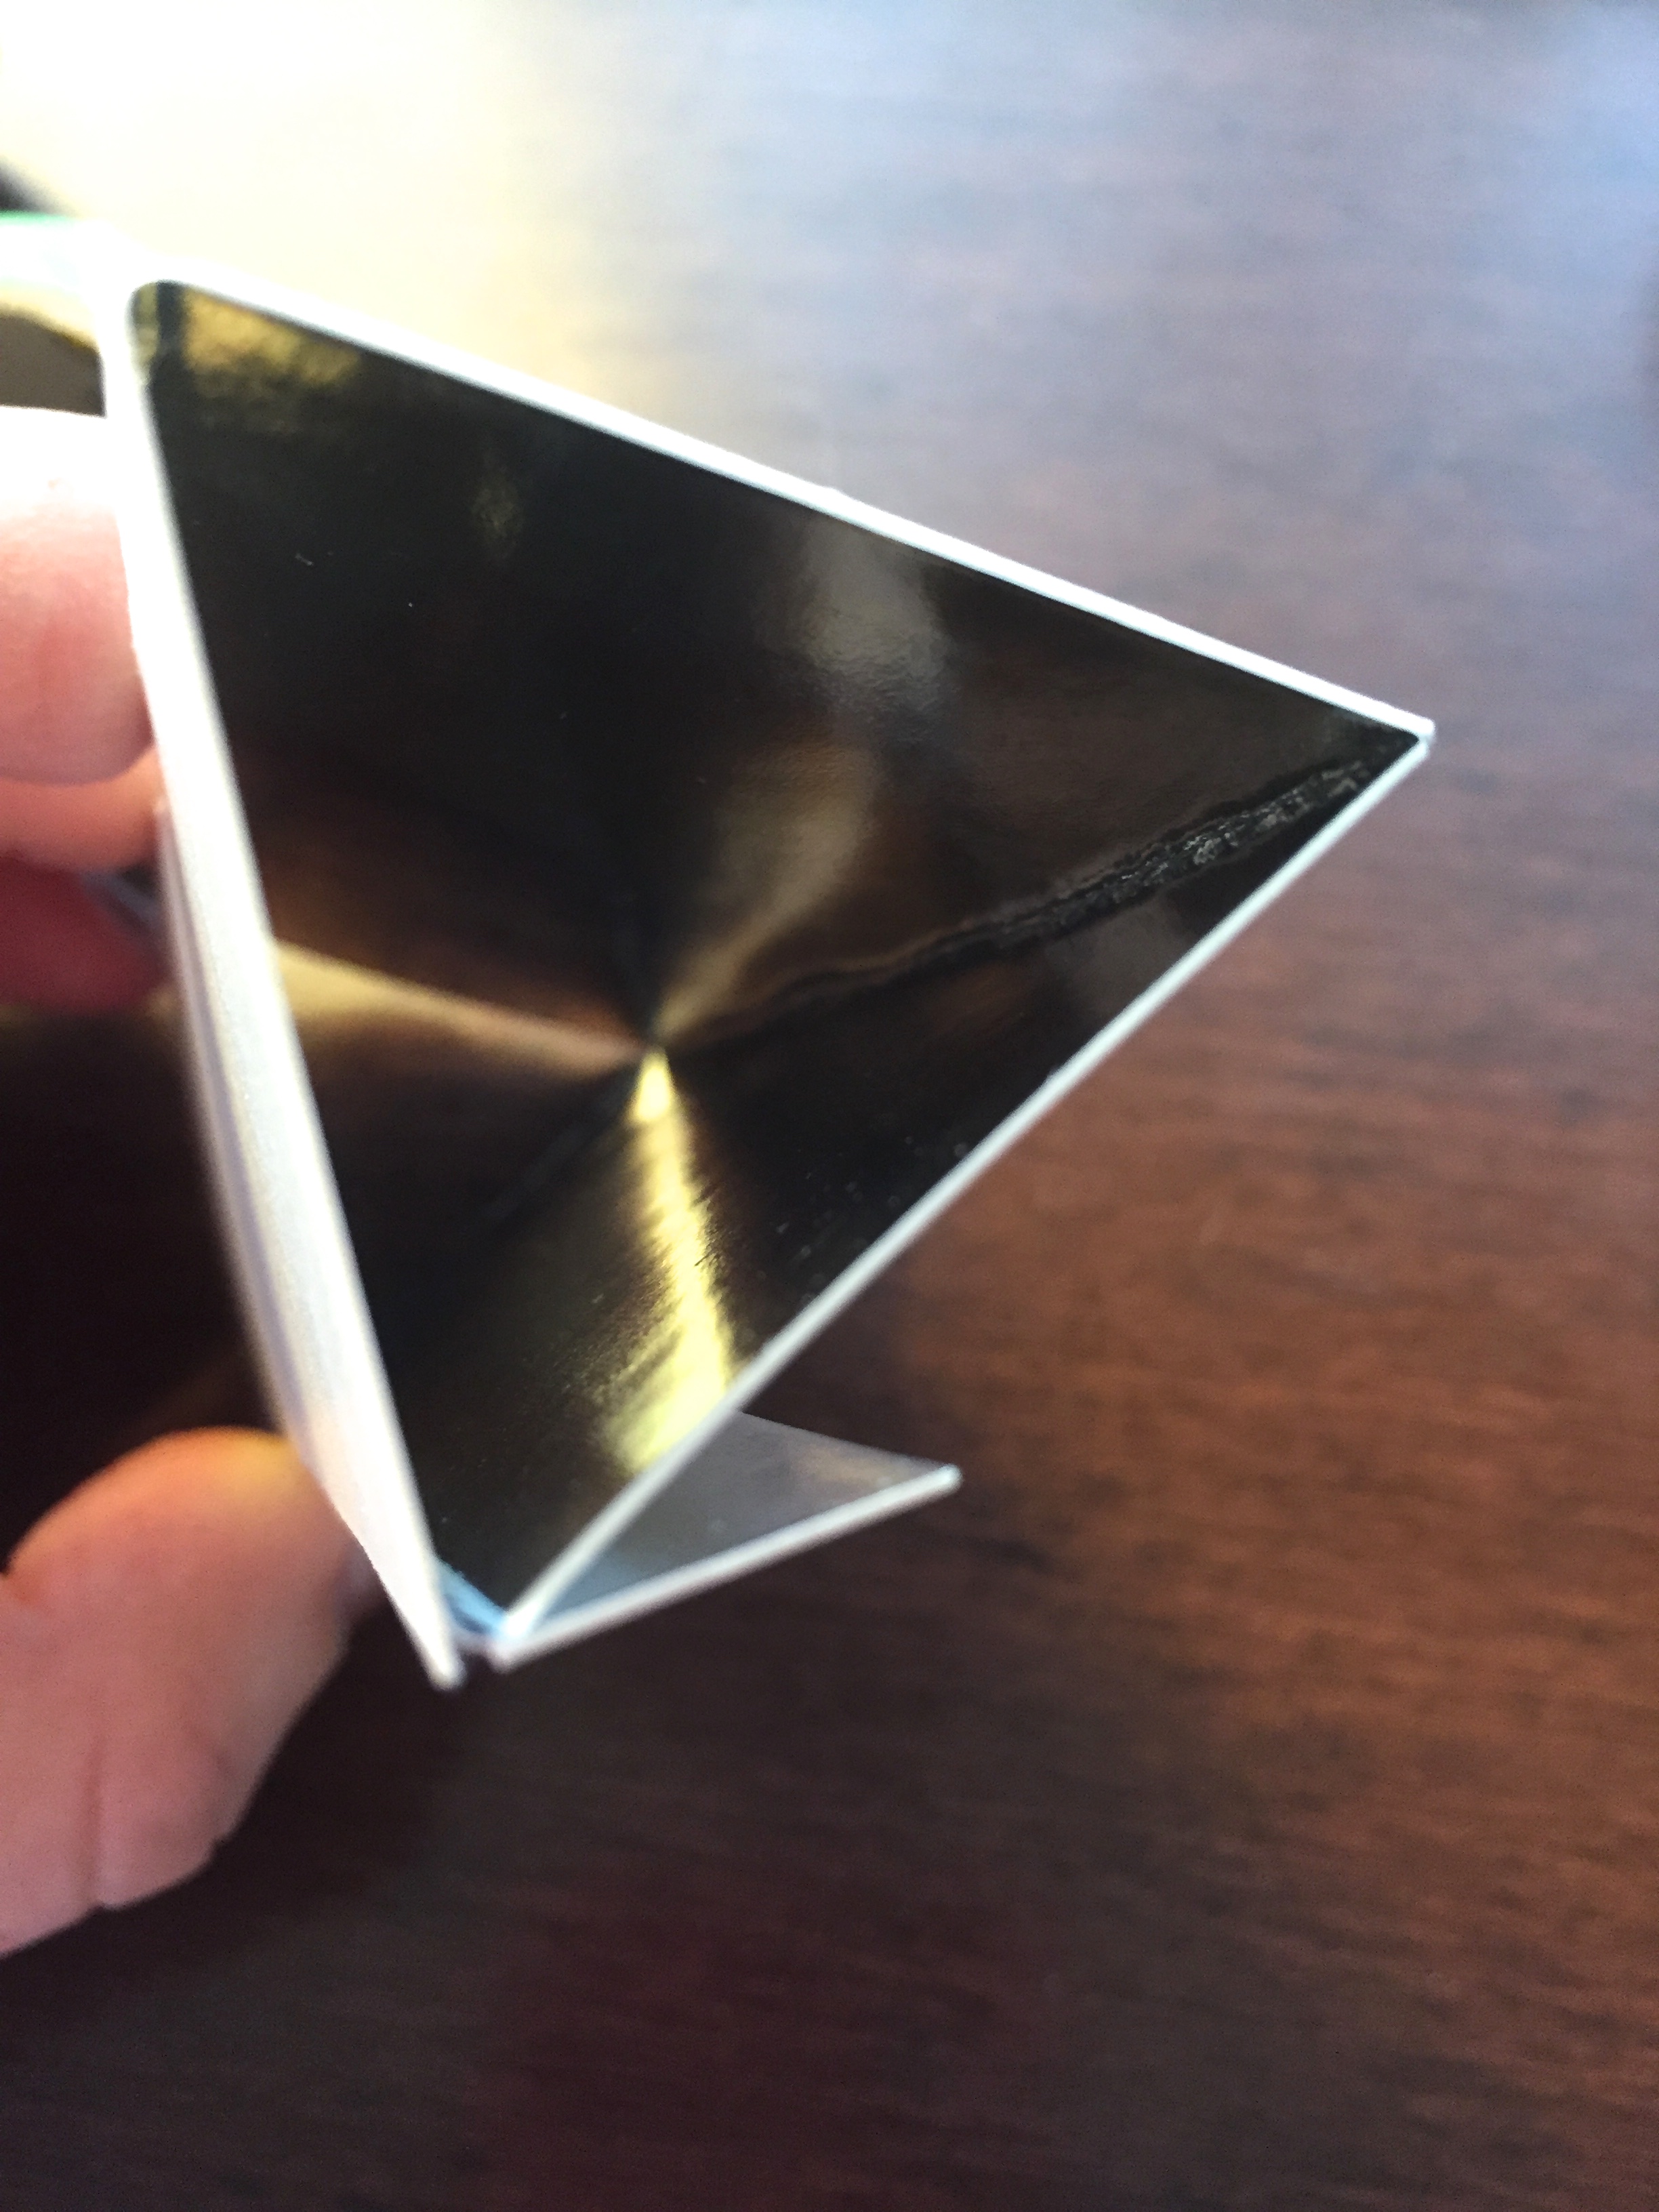

Then you are ready to insert it into the tube. Notice the space left for the beads at this end. It is flat at the eyepiece end.

Place the first of your plastic circles, the smaller size, into the tube. Put about a dozen beads on top. Be careful to leave enough room that they can move around when the kaleidoscope is turned.

Side Note: in my trial runs before the party, I tried sequins, metallic beads, and pony beads. They did not let enough light in and just created dark outlines instead of beautiful reflective color and light. I know other tutorials used them and I do not know what their secret is!
Place one of the larger plastic circles on the end of the tube to cover as a cap. Secure it well with wiki tape.


Using a smaller piece of the precut papers, trace a tube or a roll of the wiki tape. It is actually helpful to have a circle slightly larger than your tube. It is difficult to see, but I made little cuts around the edge into the center of the circle.
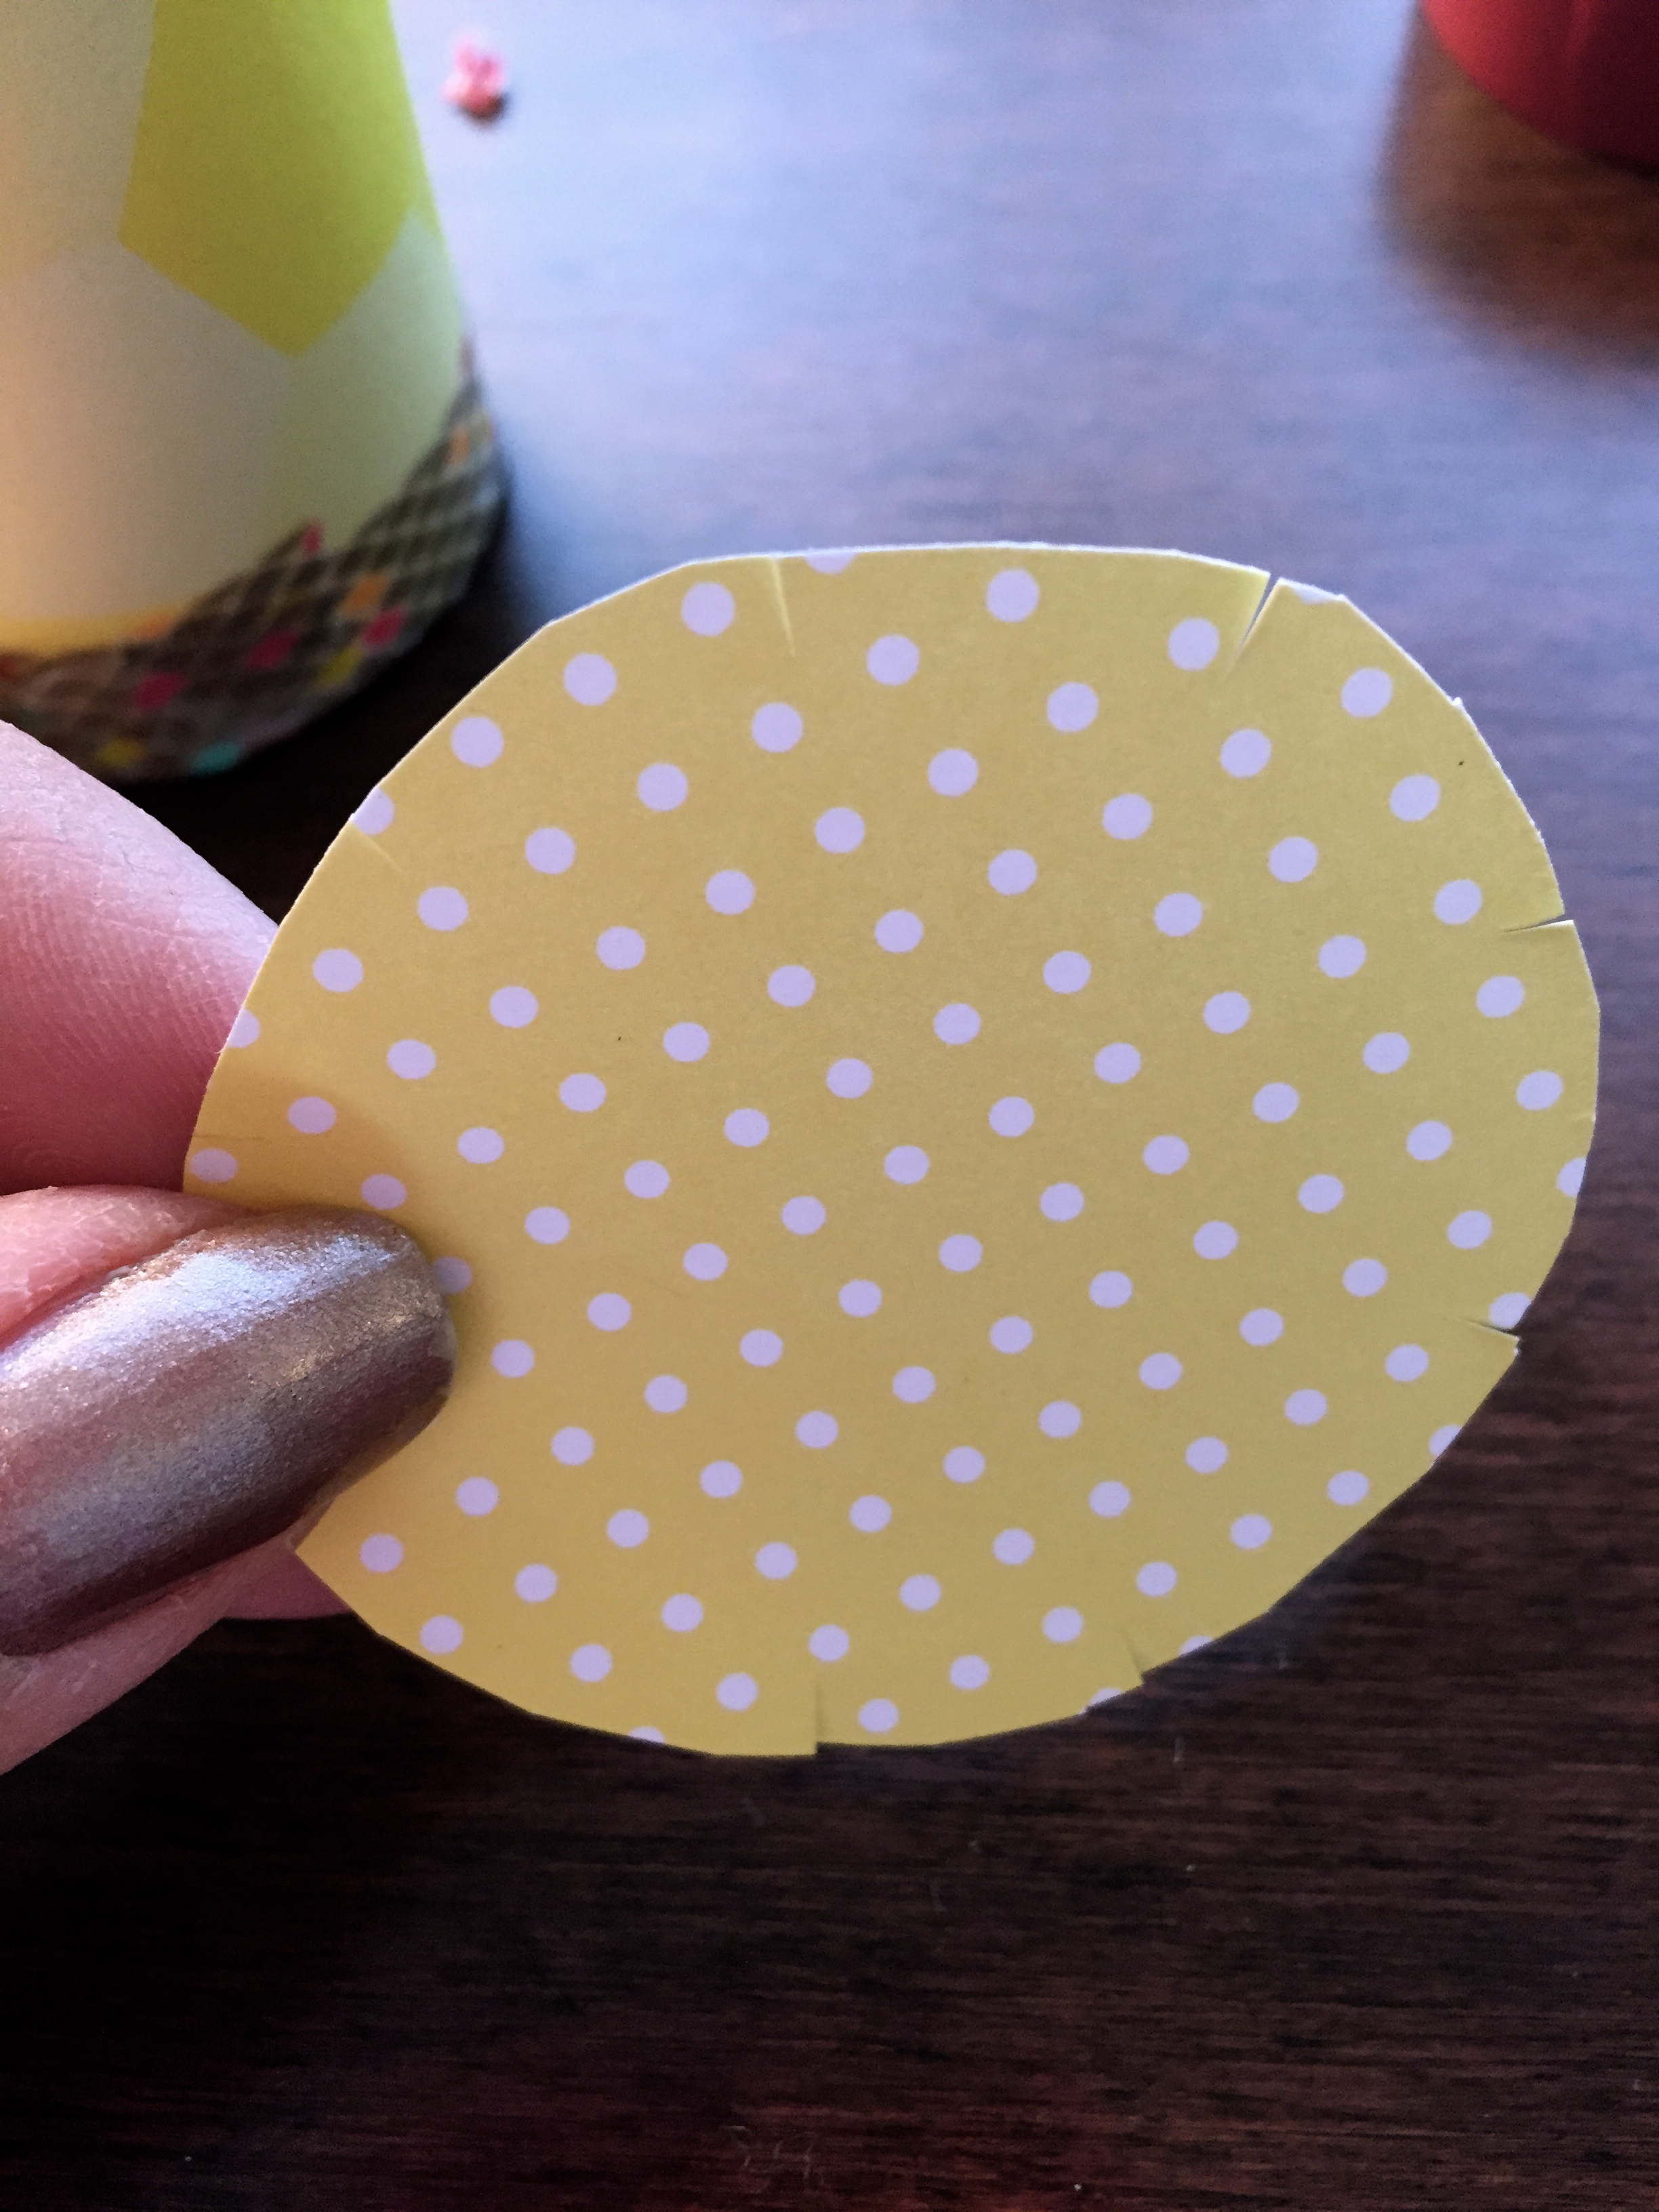 Use a hole punch to make your eye hole.

Another alternative way to create an eyehole that That Little Girl came up with was to use the tape to close off the end and leave just a reasonable sized opening. You can also use your scissors to cut a cross in the center and then make a slightly larger opening than a standard hole punch will make.
Once you have your eyepiece in place, fold those precut petals around and then secure with wiki tape again.

There you go! The photograph at the top of the post was take from this very one. Pretty good view if you ask me!

Leave a comment